I am so excited to finally share my method for achieving edible moss! This is such an easy method for making edible moss, and as I’m sure there are many other fancy alternative methods and different recipes, this is just how I like making mine and it works every single time!
I’ll be sharing my recipe, method, along with a picture tutorial, and a few ideas about how to use it on your delicious treats!
Let’s get started!
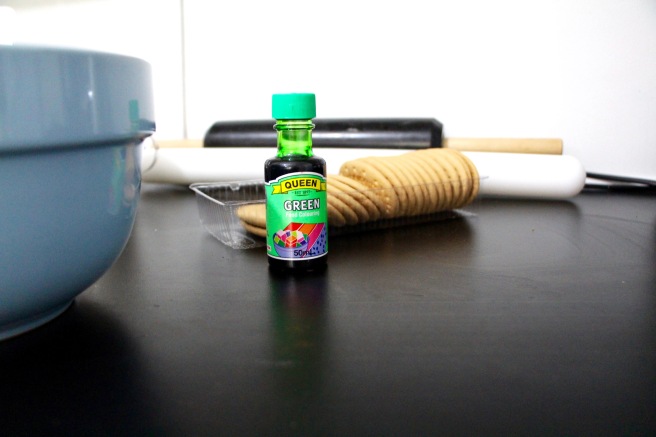
You will need:
- 1 packet of vanilla/light coloured biscuits (I used a packet of arrowroot biscuits, you can also substitute and make your own biscuit dough such as a shortbread or sugar cookie which ive also used before)
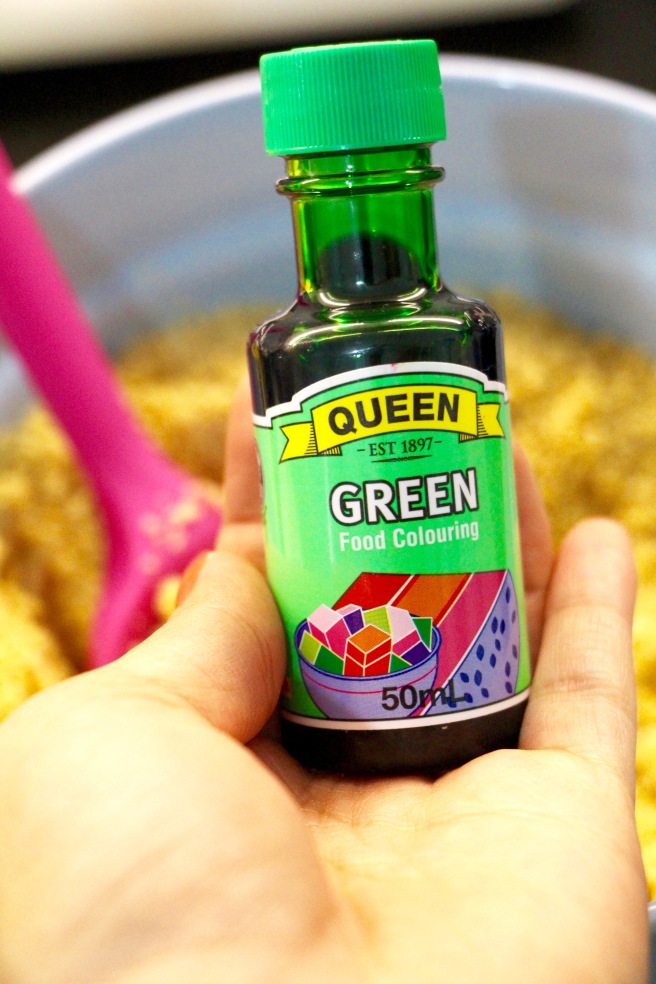
- 1-2 bottles of liquid green food colouring
- 30g Melted butter
- ¼ cup white caster sugar or less if you prefer less sweetness
Equipment:
- Food processer (if you don’t have one you can crush the biscuits in a zip lock bag and beat it with a rolling pin, but I think using a processor gets the best results!)
- Baking tray
- Baking paper
- Spatula
- Bowl
STEP 1: Crush your biscuits in a food processer and pulse until it reaches a fine crumb, ensure there are no lumps. Add it to a bowl and add some sugar to taste.

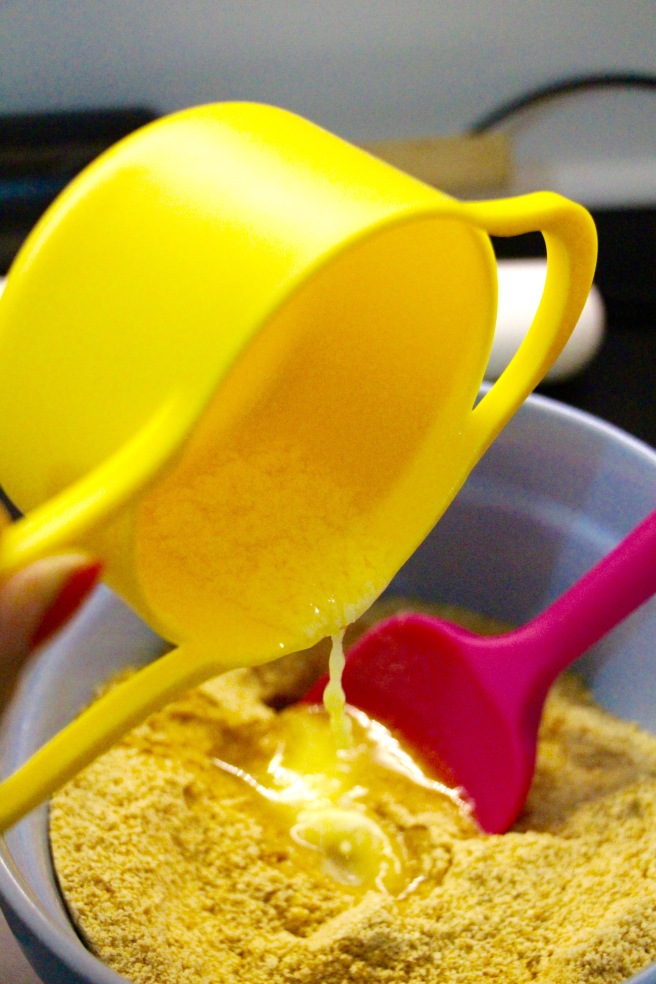
STEP 2: Melt the butter and add it to the crumbs to create a sand like texture, don’t worry if it isn’t completely moist and clumping together, the butter just helps with attaining the moist texture, and adds a buttery flavour.

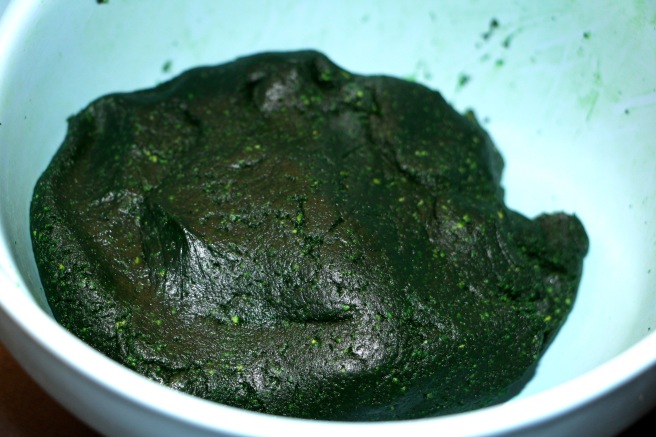
STEP 3: Add 1 bottle of green food colouring and mix, if you feel as though the mixture isn’t moist enough I would add another bottle. I would recommend wearing gloves and mixing with your hands as its easier to get the colour to coat each crumb this way. It should resemble cake pop mixture.
STEP 4: Add some baking paper to a baking sheet above and below the mixture and roll it out thinly.
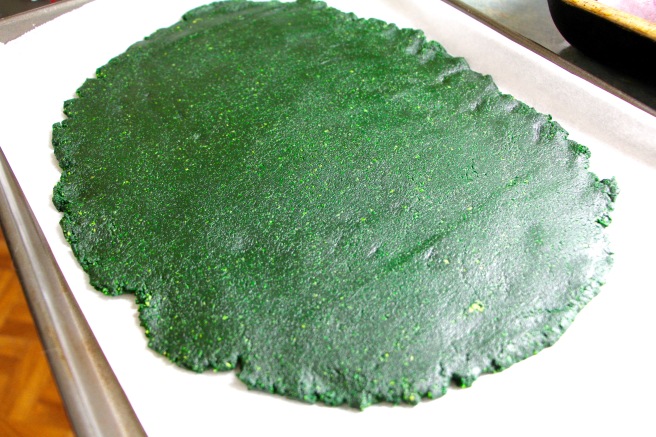
STEP 5: Place the tray in the oven on a medium heat around 140 degrees and cook it for 10-5 minutes, checking it at 10 minutes.
STEP 6: Once it is completely cooked it will have formed a crust at the top and be slightly soft. Leave it to cool completely and then add the mixture to your processer again and pulse till it reaches a fine crumb consistency.
TIP: if your crumb mixture is still a bit soggy, add the crumbs to the baking sheet and spread it out to one layer and put it in the oven for 5 minutes to dry out.
And voila! You have edible moss 😉 See how easy that was?!
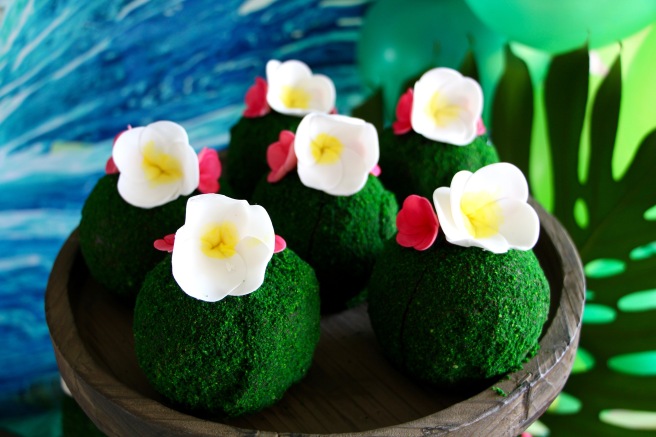

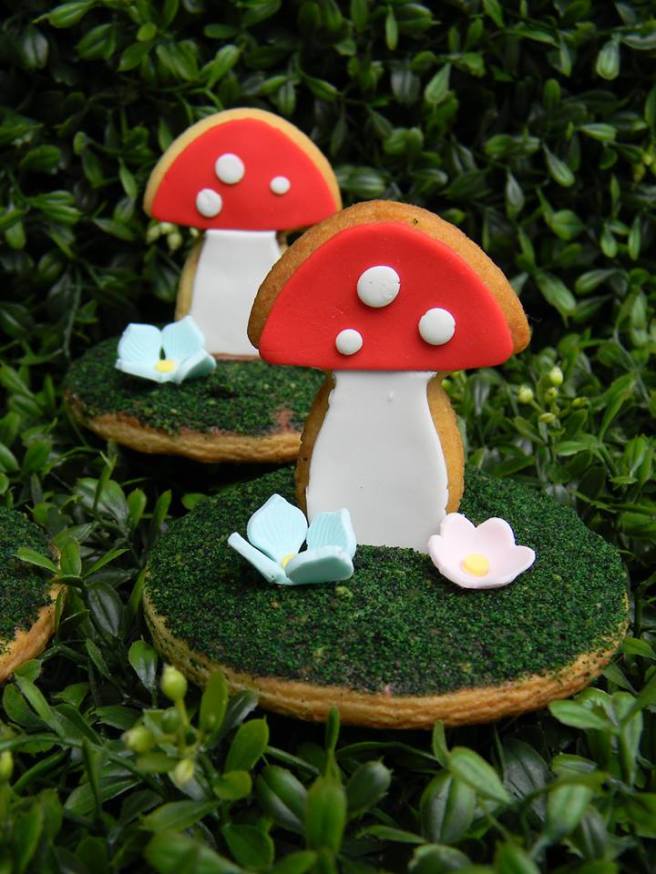
I’ve used the edible moss in many ways! I used the edible moss to coat my gourmet “Te Fiti” inspired apples, cookies and my Willy Wonka inspired cake!
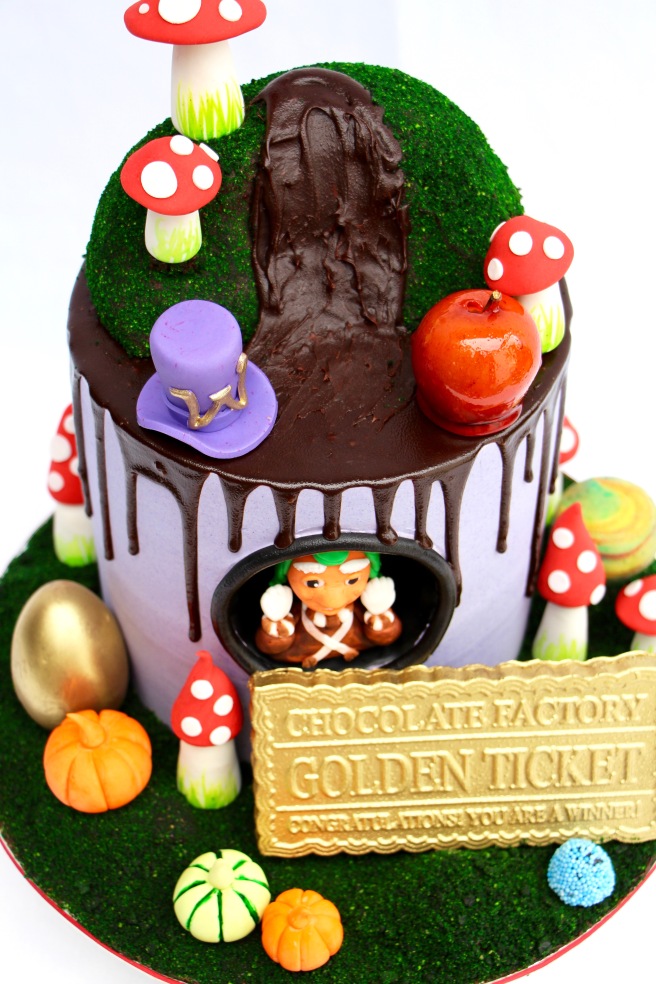
Check out @sassysprinklescakery on Instagram for more pictures of this Willy Wonka cake!
If you decide to give it a go I would love to see your work! Post it on Instagram with the #sassysprinklesediblemoss, and if you’re on Facebook just post it up on my Facebook page!
As always, Happy baking!
Love, Nelle xox

Hello. I was wondering if the oven temperature is in C or F. Thanks
LikeLike
Hi Cristina! It’s in C 🙂
LikeLike
Thank you. 😊
LikeLike
What is the weight of the biscuits you used? I plan to make my own.
LikeLike
I believe one packet is 250g! Good luck! Xx
LikeLike
Hello,
Wonderful receipe which I will be using, thank you. Can I ask how you attach it to the cake please? Do you add a layer of fondant underneath or do you apply to ganache?
Thanks again!
LikeLike
You can apply to fresh ganache as it’s still sticky or you can use piping gel or sugar glue to attach to fondant 🙂
LikeLike
Hi, thank you for this tutorial. Just wondering if its something i could prepare a week or so early and freeze or store?
LikeLike
Hey Kathy! Yes you can definitely make this ahead of time. A week will be perfectly fine. As long as you cool down the crumbs completely, store in an air tight container. Xx
LikeLike
I tried this with digestive biscuits and Sainsburys own green food colouring, my moss faded to a sickly yellow when I baked it and when I tried to take it out of the oven my grease-proof paper slid off my baking tray and deposited the mixture all over my floor, I had a good laugh about it though.
Moral of the story? Invest in good ingredients or risk getting biscuit crumbs everywhere. I’ll try this again soon.
LikeLike
Hey Holly! Good on you for trying and keeping that positive attitude, I’ve had a few hiccups myself so I laughed with you haha! You will definitely get there, just try again 🙂 good ingredients always work. Good luck x
LikeLike
One bottle color…😅
Well I use coconut or biscuits adding up just some drops of gel food colors..
LikeLike
Great! 🙂
LikeLike